Tuesday, May 27, 2008

Christmas '95

Christmas '95

First I used Photoblast Sun Kissed Pro effect on the photo and I applied the paint by light feature twice on Mason. I then rotated the swirly element, lowered the opacity on it and added the flowers. Then I cut the background papers, using the templates and added the star overlay just under the side circles. I added drop shadows to everything except the swirly element and the butterfly.

Under the Vegas Sign...

Under the Vegas Sign...

This LO was very straight forward. Mostly finding the elements to go together, tried to stay with the same designer for most of them. I did cut the circle out of the blue paper and then enlarged it slightly and lowered the opacity of it behind the circle frame. And I used a slight stroke on the journaling so that it was easier to read.

Wednesday, May 21, 2008

Katie and Margo '84

Katie and Margo '84

I used a quick click I picked up on the internet so this was just a matter of picking which papers to use for each part of the LO. Stayed with the same designer when I went looking for additional papers. I also had to fix the photo because it was an old scanned one. Used the healing brush tool to remove the few dust particles. And I made the button to go into the center of the flower so that it was a little more different than the other flower that I used.

Killer Rabbit

Killer Rabbit

First I used the Quick Selection tool to extract my son and the rabbit - I'm really getting to like that new feature of PSE6! Then I doubled the photo layer and put the frame in between them and erased what I needed to on the top layer. Then I doubled the vine/heart swirly element and put the top layer of the photo between it and erased what I needed to around the rabbits ear on the top layer swirly layer. Other than that I lowered the opacity on the elements in order to make the flowers noticeable. They were getting lost with everything that was going on in the LO.

Sunday, May 18, 2008

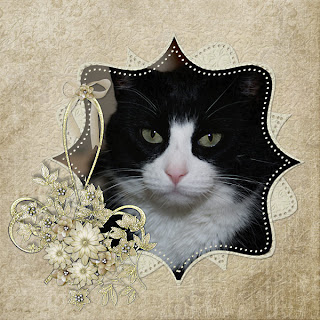
Blackie

Blackie

I began by selecting the bracket photo mat and then I cut the photo out of the selection. For some reason the result was rather transparent so I ended up making three of them to make the photo look normal. Then I made another copy of the bracket mat and rotated it a bit. Then I made the one behind the photo just a little larger. I put one of the backgrounds over the embossed one and erased around and behind the photo. The transition between the embossing and the regular paper was a little too abrupt so I made another copy of the erased layer and lowered the opacity until I liked the effect. Other than that I flipped the vine element horizontally and put them together and arranged the elements into the cluster.

Friday, May 16, 2008

My Garden

My Garden

First thing I did was to make two copies of my photo and then put one under and one over the frame. Then I used the Quick Selection Tool to select the flowers on the top photo layer. Took some work using the plus and minus to get what I wanted and I worked my way around the photo - deleting sections as I went. Then I cut the bottom photo to fit under the frame. I usually link those three layers once I finish the extraction just to be safe. The background papers I blended the plain one on top of the diamond one because the diamonds by themselves were just too busy looking to me and competed with the flowers. Other than that I just sized and arranged the elements.

Monday, May 12, 2008

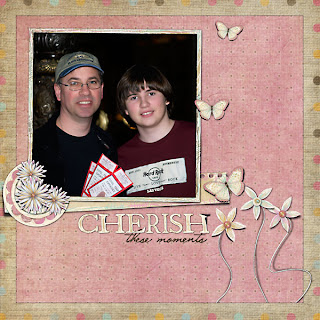
Cherish these moments

Cherish these moments

First I made the border by selecting the square and then hitting the delete key on the brown paper layer. After that I made two copies of the flowers and placed on of them under the frame and one on top. Because of the heavy shadow on the element I ended up erasing all of the top layer except where it went over the frame on the edge. Other than that I lowered the opacity on the circle under the flowers and arranged the elements slightly tilting things so that they weren't so lined up...

Sunday, May 11, 2008

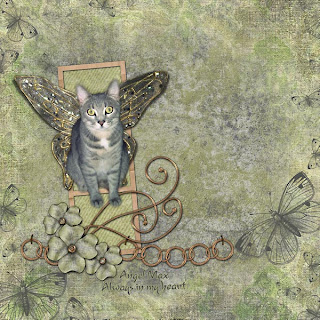
Angel Max

Angel Max

First I extracted Max from his photo. PSE6 has a nice feature where you can refine the edge after using the new selection tool. Takes a lot less time than all that old fashioned erasing of pixels. Then I put the two overlays on top of the background paper. I locked the transparency on the butterfly overlay and then selected a brush and fished around in the background paper until I found a color that was good for the butterflies. Then I brushed them the blue color. After that I cut the green background paper for behind the frame strip and lowered the opacity on that. Then put the wings behind Max and used the perspective transform tool and tried to get the wings to look good. I erased the butterfly antennas. After that I journaled and added a stroke of color on the text to make it easier to read.

Blackie in a box...

Blackie in a box...

First I cut the strips out of the background paper. I lowered the opacity on the orange ones to tone down the color a little. Then I duplicated the inner shadow for the box several times until I liked how the photo looked under them. And I also lowered the opacity on the bow to give it more of a lighter feel. Other than that I just arranged elements and added drop shadows.

Thursday, May 8, 2008

Hanging Out...

Hanging Out...

First I cut the mats for the circle out of the background papers and cut the photo to go inside the circle. Generally I will use the magic wand to select the space inside the frame and then expand the selection until I like how the photo will look. Then I made a second copy of the photo and used Photoblast Chocolate on the top layer. After that I erased at about 15% opacity the top layer until I liked the way that the kitty looked against the sepia background. Other than that I just arranged elements and lowered the opacity a little on the lacy metal outer frame.

Saturday, May 3, 2008

Precious

Precious

First thing I did here was to cut the strip of paper out of the pink. Then I used Photoblast's Rustic Charm to tone down the colors in the photo to match the muted feel of the kit. After that I just layered and erased the bling that was over things I wanted it to appear under - like the hearts on the scalloped mat and the ribbon. I also lowered the opacity on the star border.